🌹 Golden Rose Guide: Making an Envelope‑Back Cushion Cover
- Feb 16
- 2 min read
A simple, satisfying project that’s perfect for beginners — and a great way to refresh your home décor.
🧵 What You’ll Need
Cushion pad (any size)
Fabric (amount depends on cushion size)
Sewing machine + needle suitable for your fabric
Fabric scissors or shears
Matching thread
Pins
Iron
✂️ Step 1 – Measure Your Cushion
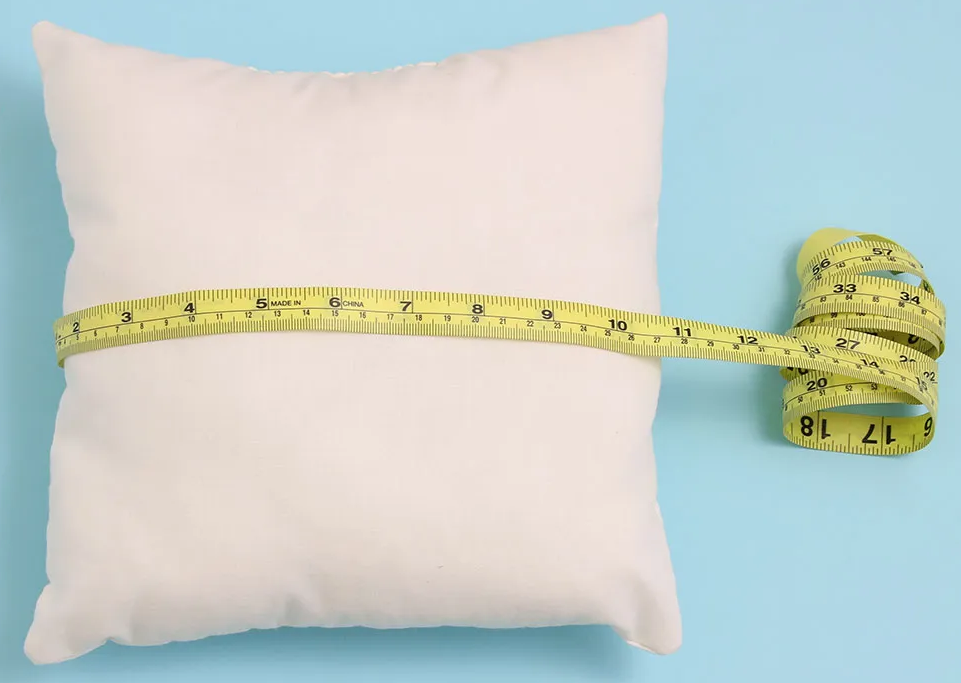
Measure seam to seam across both the width and length of your cushion.
Diagram: (Illustration showing a cushion with arrows across width and length, labelled “measure seam to seam”)
✂️ Step 2 – Cut the Front Piece

Add 3 cm to both the width and length (1.5 cm seam allowance each side).Example: 30 cm cushion → cut 33 cm x 33 cm.
Diagram: (Square labelled “Front Piece” with seam allowance shaded around edges)
✂️ Step 3 – Cut the Back Pieces (Envelope Closure)
Back is made from two overlapping panels.
Length: cushion length + 3 cm
Width: half cushion width + 10 cm
Example: 30 cm cushion → cut two pieces at 33 cm x 25 cm.
🪡 Step 4 – Hem the Overlap Edges
On each back piece:
Fold 1 cm to wrong side, press.
Fold again by 1.5 cm, press.
Topstitch close to folded edge.
🪡 Step 5 – Assemble the Cushion Cover
Lay front piece right side up.
Place one back piece right side down, align raw edges.
Place second back piece right side down, overlapping the first.
Pin all around.
🪡 Step 6 – Sew the Seams
Use 1.5 cm seam allowance.
Pivot at corners with needle down.
Backstitch at start and end.
✂️ Step 7 – Trim & Turn
Clip corners diagonally.
Turn right side out.
Press.
🌟 Pro Tips
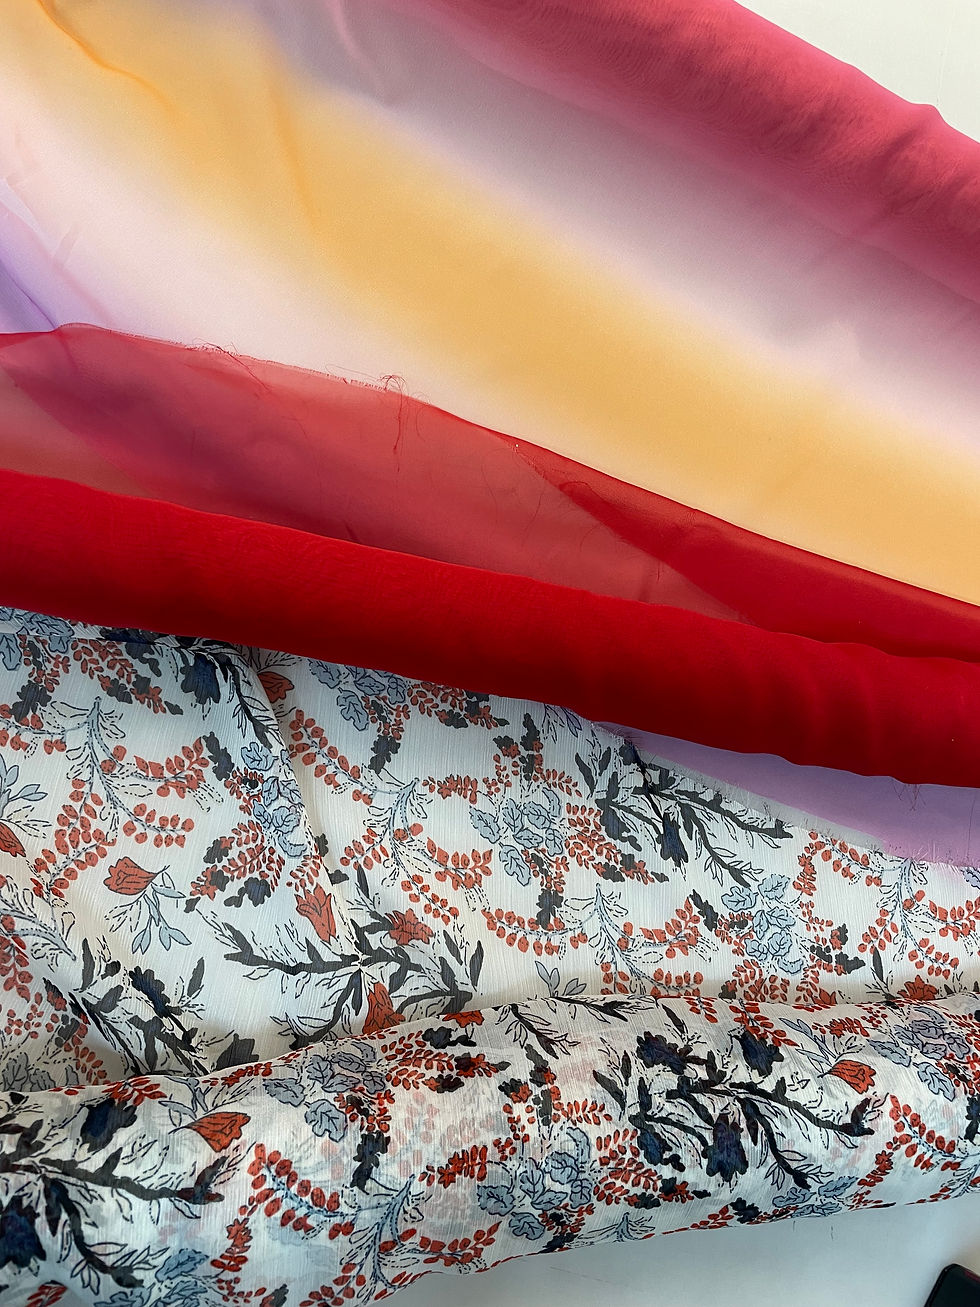
Fabric Choice: Cotton or linen is easiest; try velvet or jacquard for luxe look.
Needle Selection: Universal for wovens, ballpoint for knits.
Finishing Touch: Add piping between front and back for a professional edge.
Happy Sewing!!!
If you want some more help, why not join our Absolute Beginners Class!!!


Comments